


I was fortunate to be present for the release of Estelite Omega Composite Restorative System (Tokuyama Dental America) at the California Dental Association meeting in 2011 (Anaheim, CA). I was there to help the creator of this incredible product, Dr. Newton Fahl Jr., while he gave his first hands-on workshop with the new material. I was also given a complete Estelite Omega kit and have used the product as my “go to” anterior composite ever since.
Using Estelite Omega and Estelite Color has been a game changer in my office. Estelite Omega is a complete layering kit, yet it only contains 11 shades. There are enamel, dentin, bleach, and effects shades.
Teeth are polychromatic and the composite restoration should be also.
One can see on the color map the different layers of composite.
This material handles well (doesn’t slump) and you are able to obtain a high gloss finish that lasts. The tint kit is called Estelite Color and contains all the tints and opaquers that one needs to assist in creating a polychromatic/esthetic restoration.
The following are tips that I have learned from Dr. Newton Fahl and personal experience in my own dental practice:
Take a shade match at the beginning of the appointment, before the tooth has a chance to dehydrate and changes value. Use a custom shade tab (Estelite Omega Custom Shade Guide) made up of the composite material itself to take a shade.
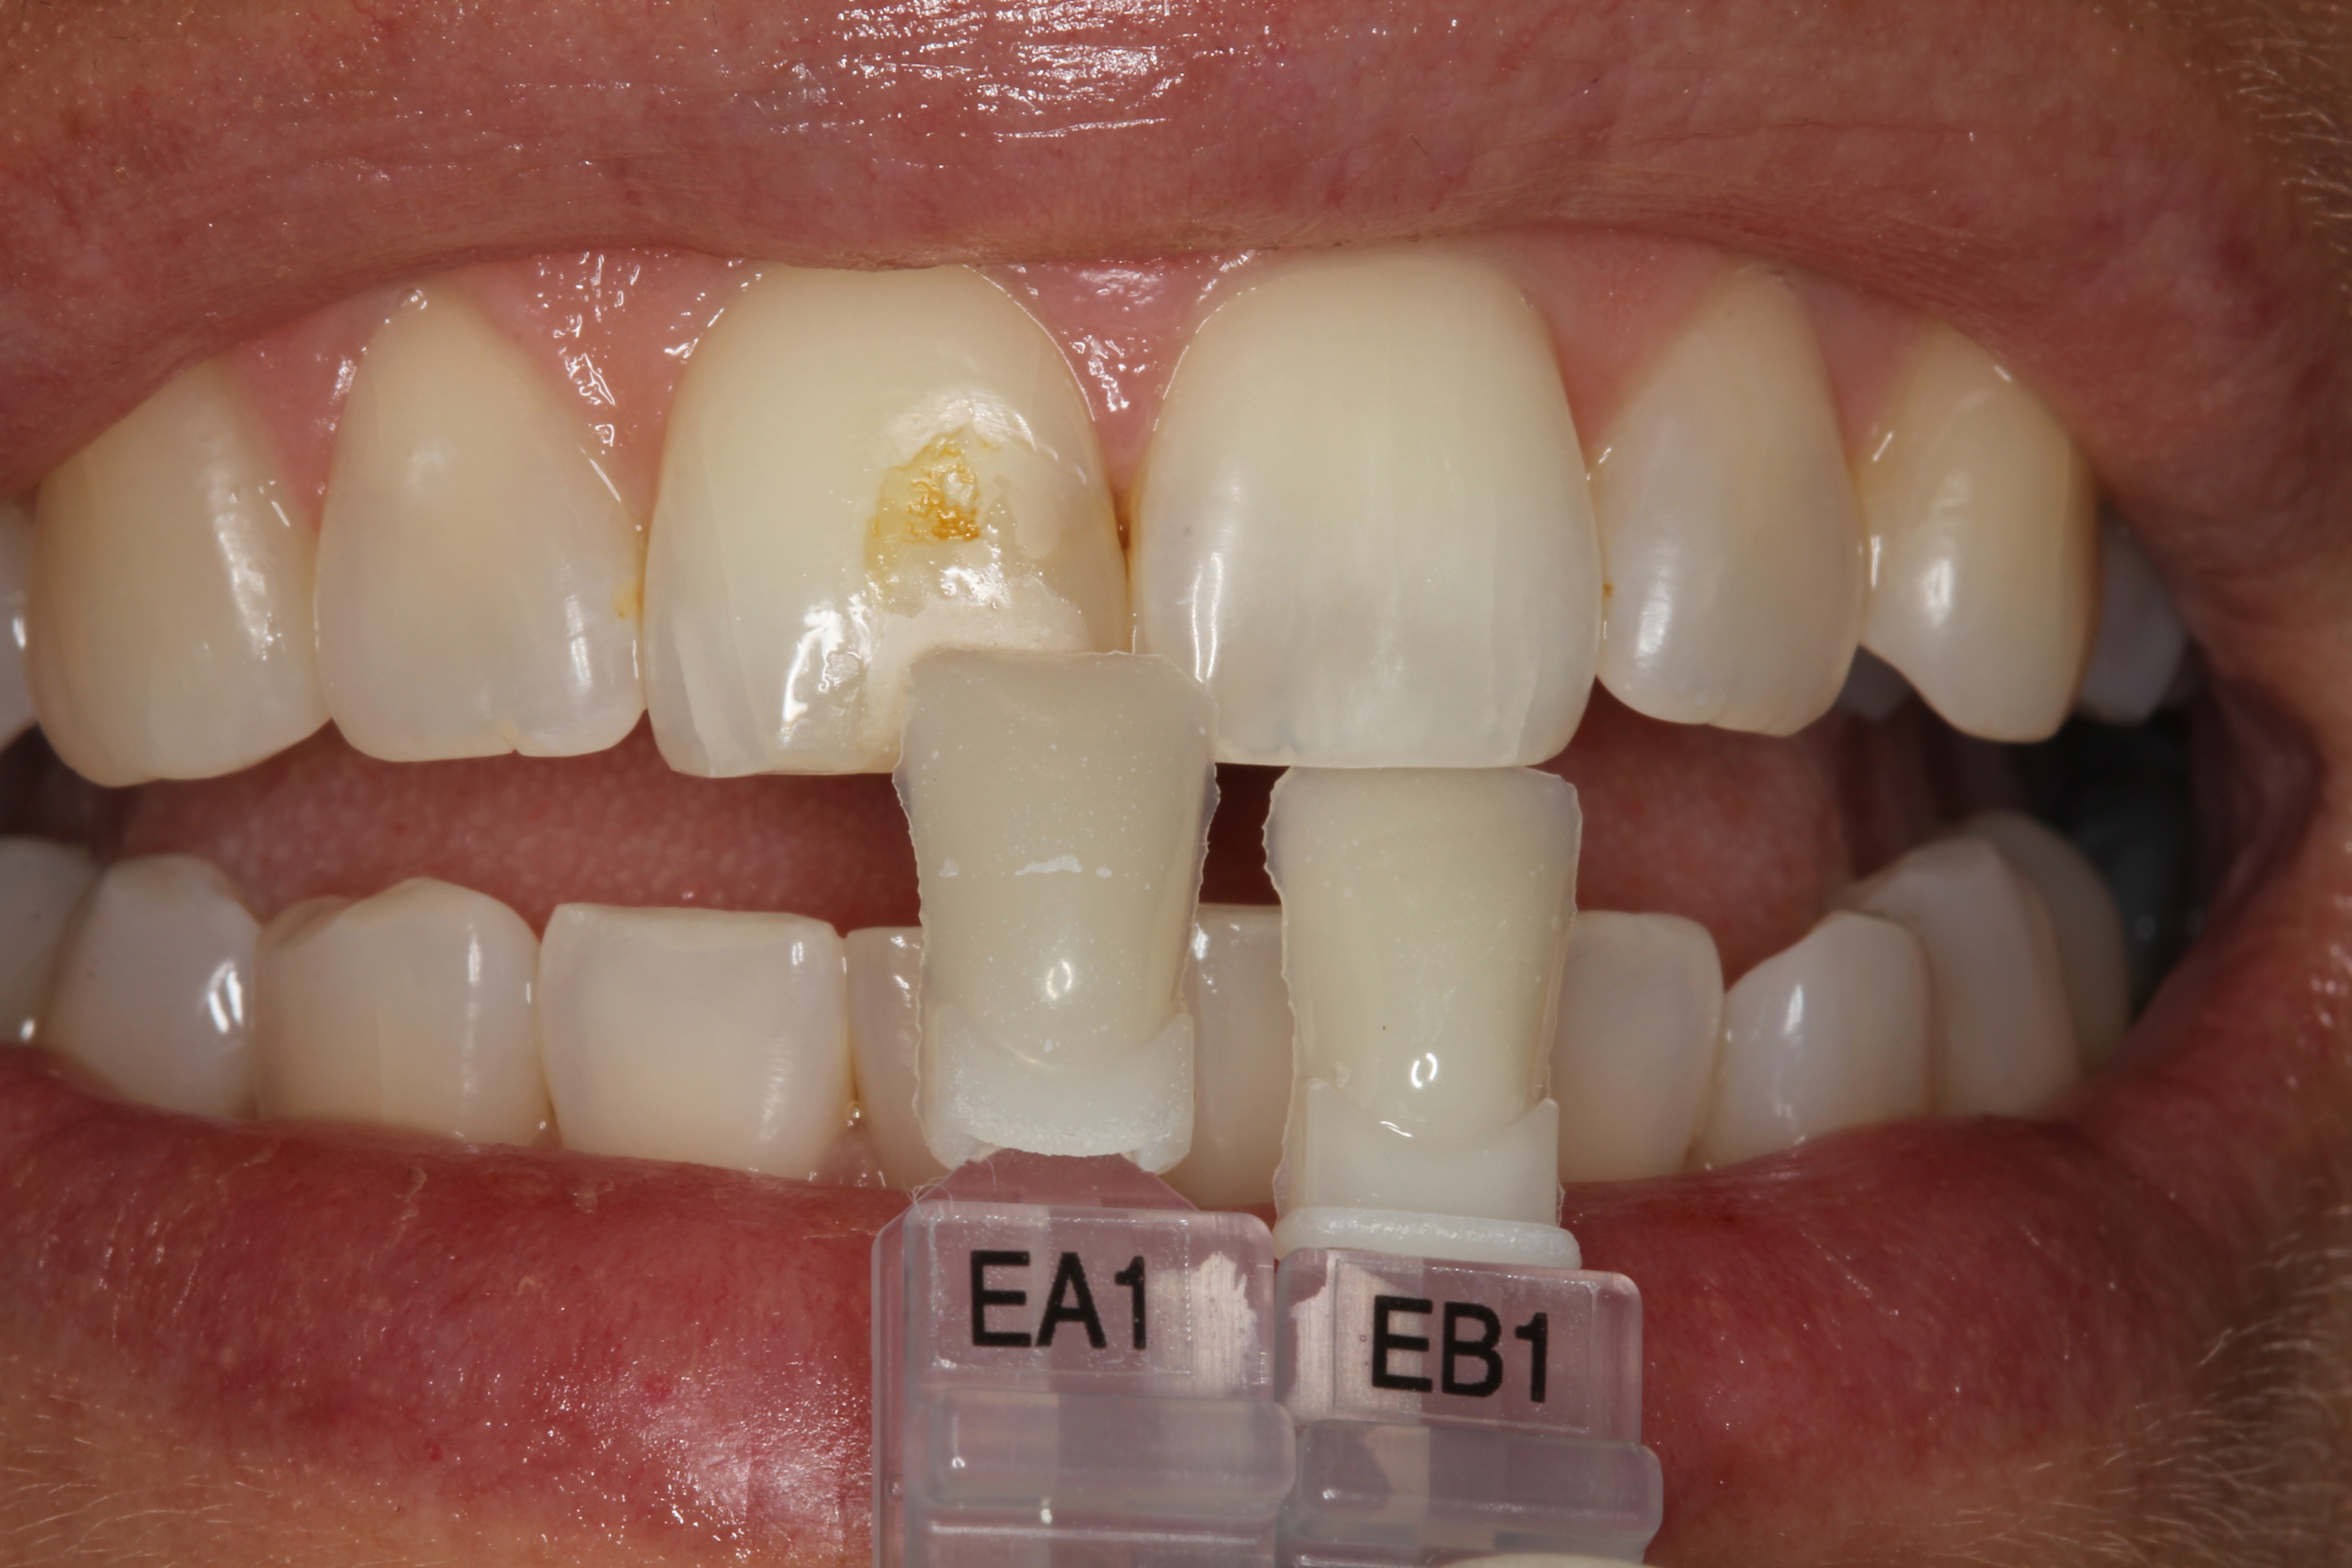
The shade guide for a composite should be made of the composite material itself.
The Vita shade guide is inaccurate for composite resins. Tell the patient at the start of the appointment that the shade of the restoration may not match at the end of the appointment, but will by the next day. Trust your shade selection at the beginning of the appointment and don’t be tempted to change the shades in the middle of the appointment.
For a class IV fracture, create a “long and deep bevel” on the facial and a small chamfer on the lingual margin. The preparation margin on the facial should be “infinite”, that is, without a visible edge. Always use a putty matrix on a class IV fracture. Do a wax-up or an intra-oral mock-up to create the ideal contours.
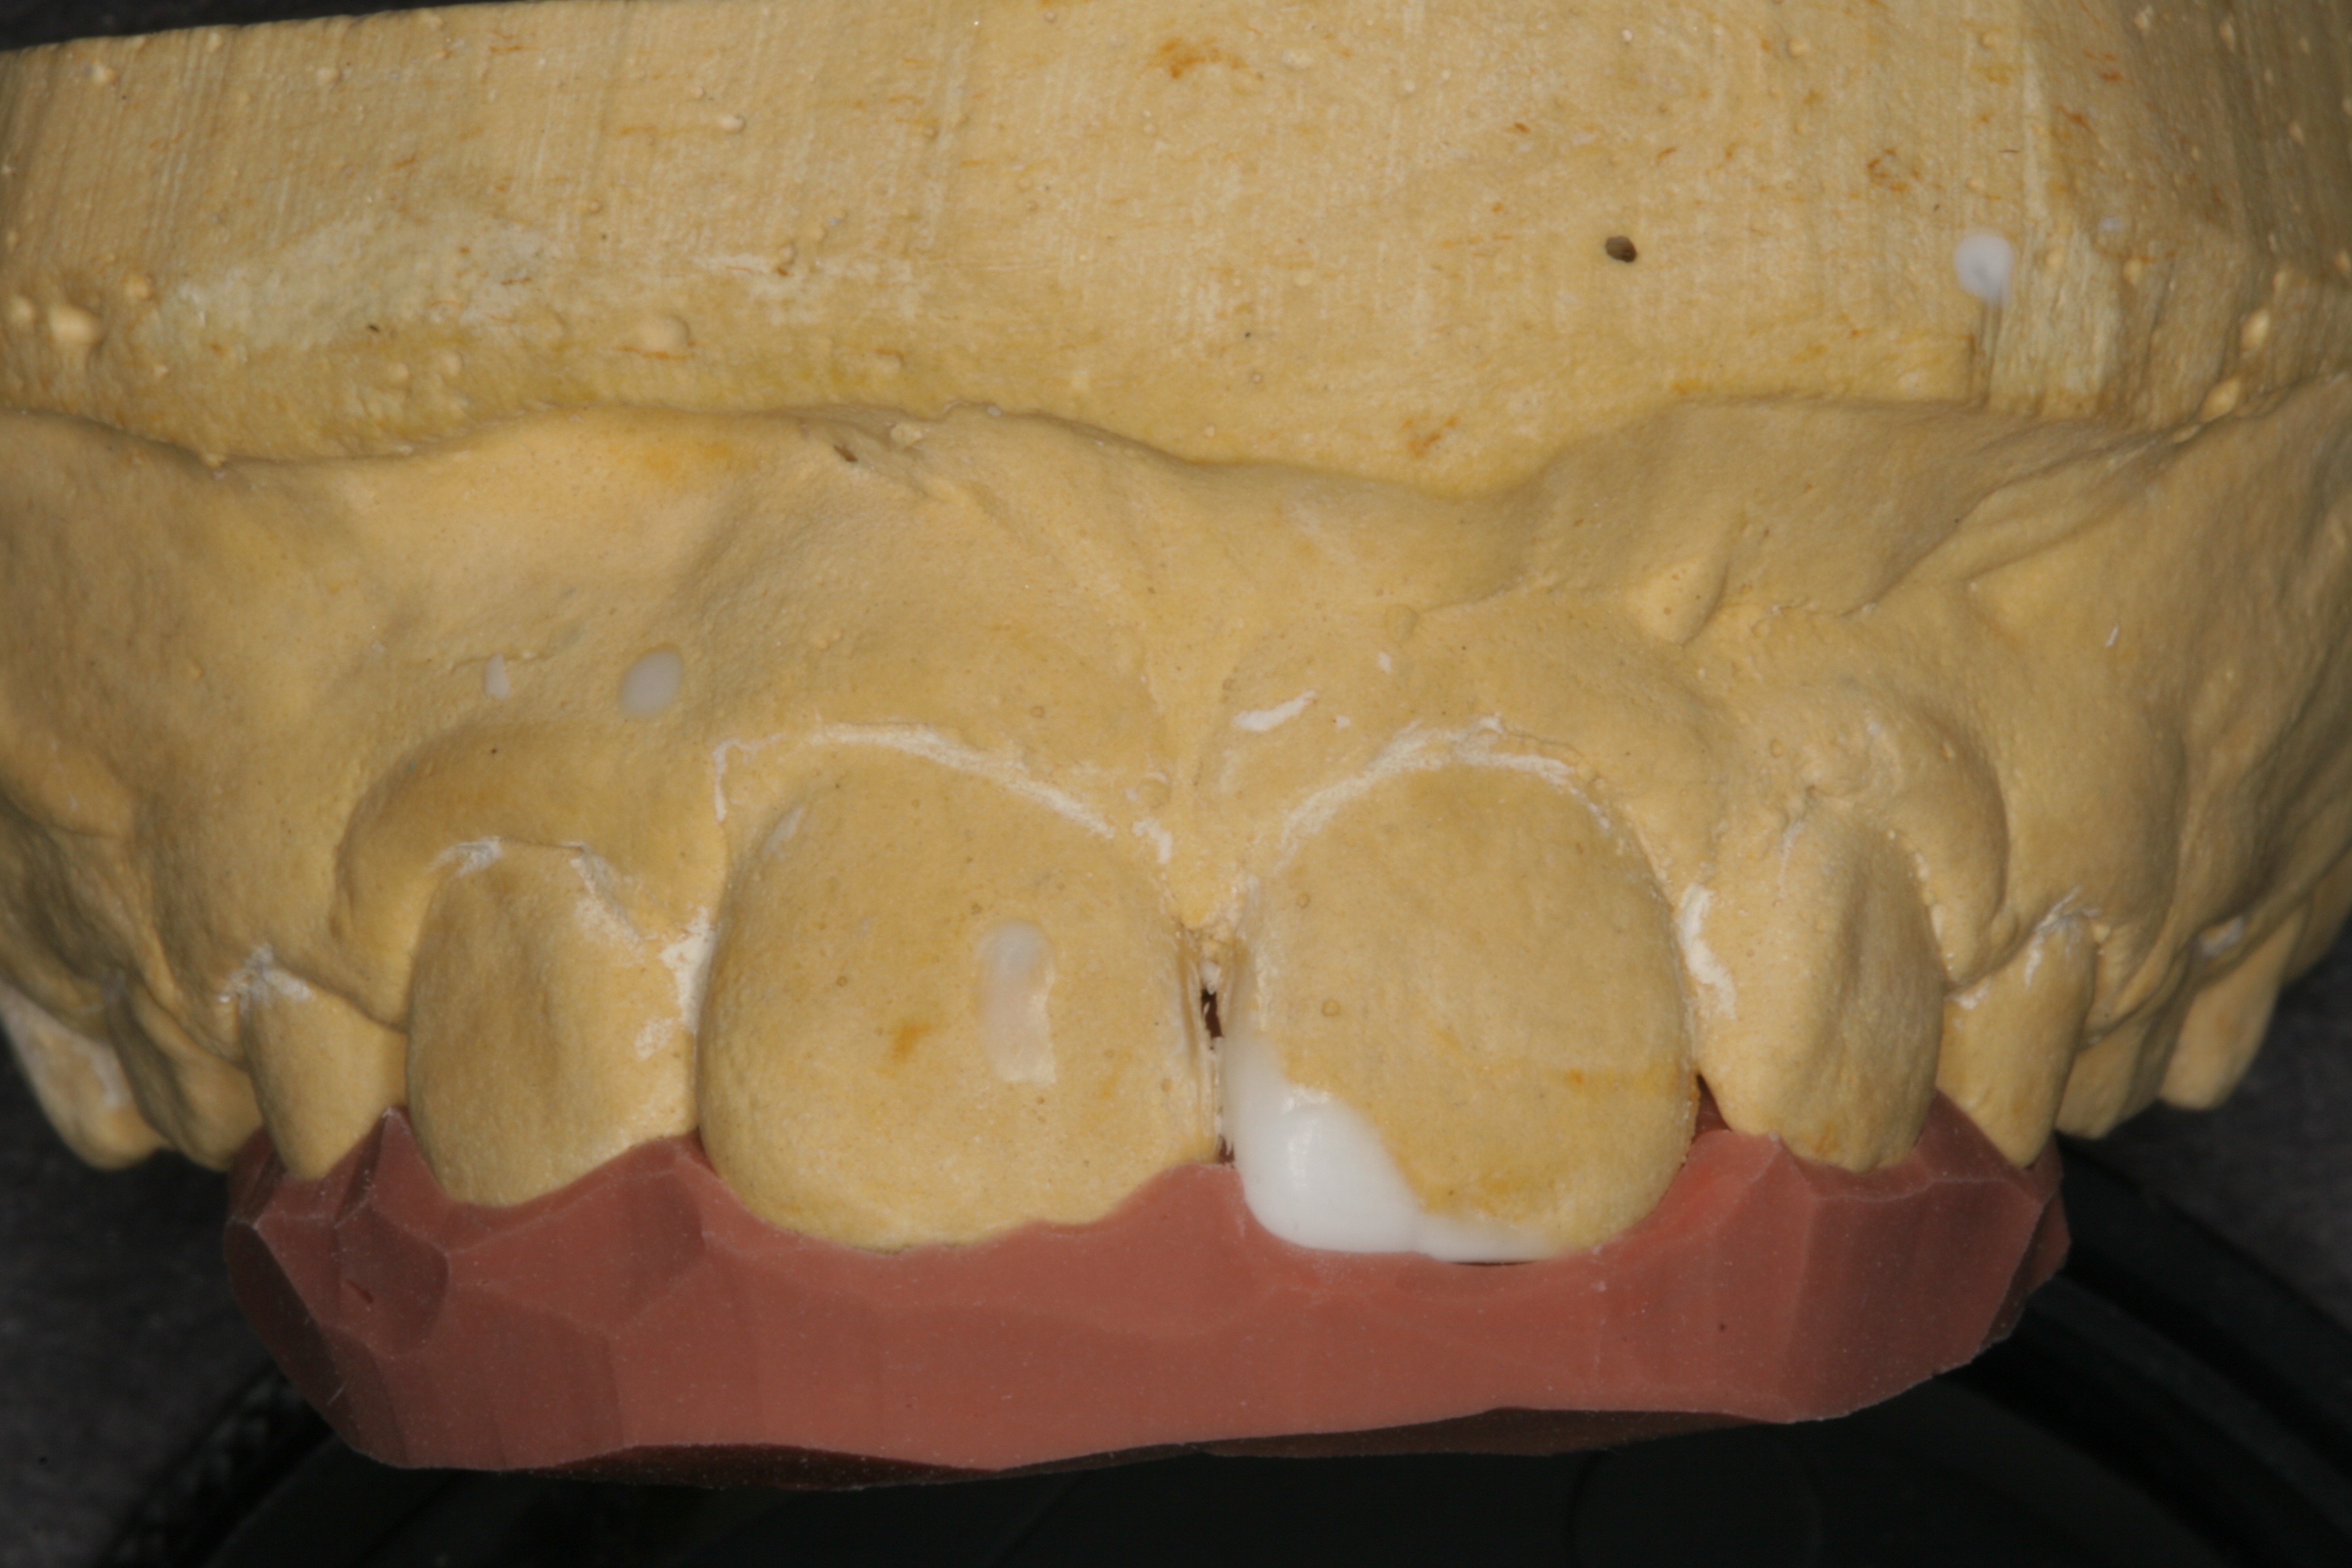
The putty matrix is essential in creating a quality Class IV fracture repair.
Here you can see that the putty matrix was formed from a diagnostic wax-up.
This will allow you to create a restoration with an ideal incisal edge, lingual contour, and incisal embrasures. The subsequent layers of composite can be placed more accurately. Block out the fracture line! When the dentin shade is added to a class IV fracture, the fracture should disappear. If the fracture is still visible, then you may have to add an opaquer to hide or blend the visible line.
Use a thin IPC (Cosmedent) or a Gold Almore instrument to create precise embrasures. Create great contact areas with the incisal pull-though technique. A clear mylar strip pulls through the composite material from the facial to lingual. Contour the composite prior to curing with a Gold Almore instrument and a #3 brush wetted with modeling resin.
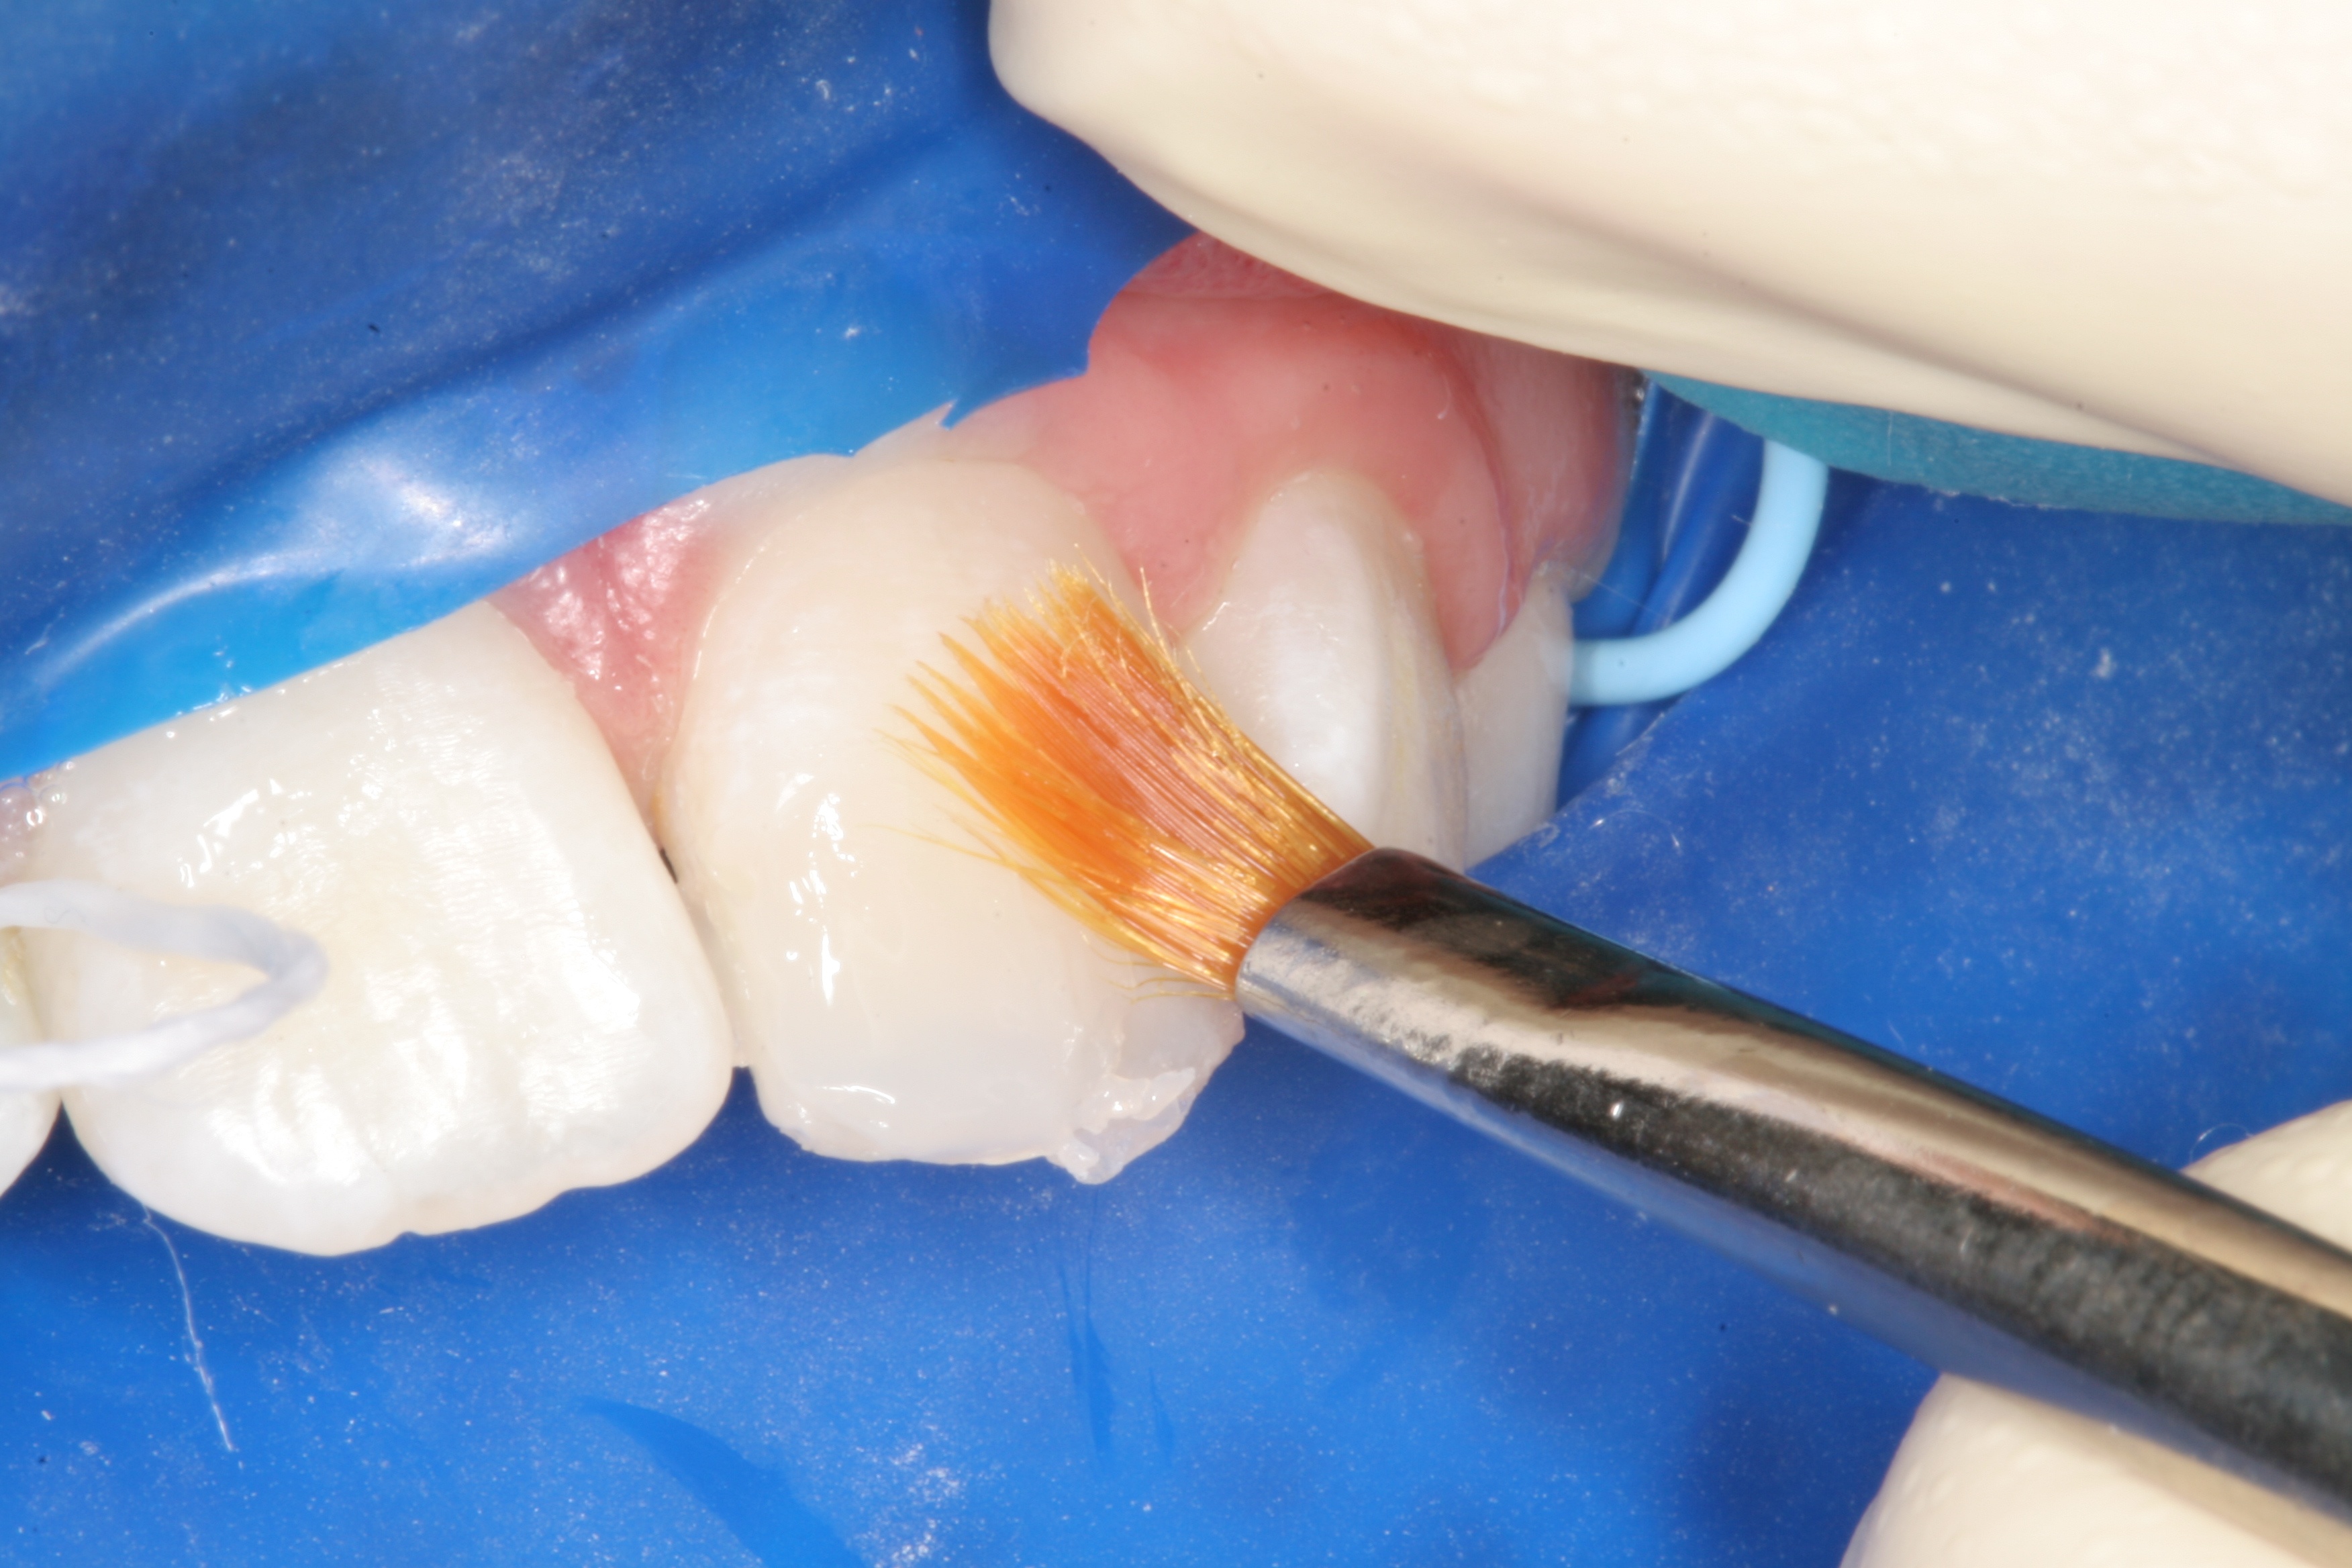
A #3 brush is very useful in contouring the composite resin.
Teeth are polychromatic, so the restorations should be also. Don’t just use a single shade. Know how to use tints and opaquers. Use tints sparingly and don’t overdo it! Practice on a typodont or extracted teeth.
For a small chip on the incisal edge, restore with Milky White incisal shade and the restoration will blend in perfectly 90% of the time. Don’t shine the dental light on the uncured composite. Turn off the dental light or use an amber shield so the composite doesn’t get cured prematurely. Cover-up your composite and tints with a light protected box.
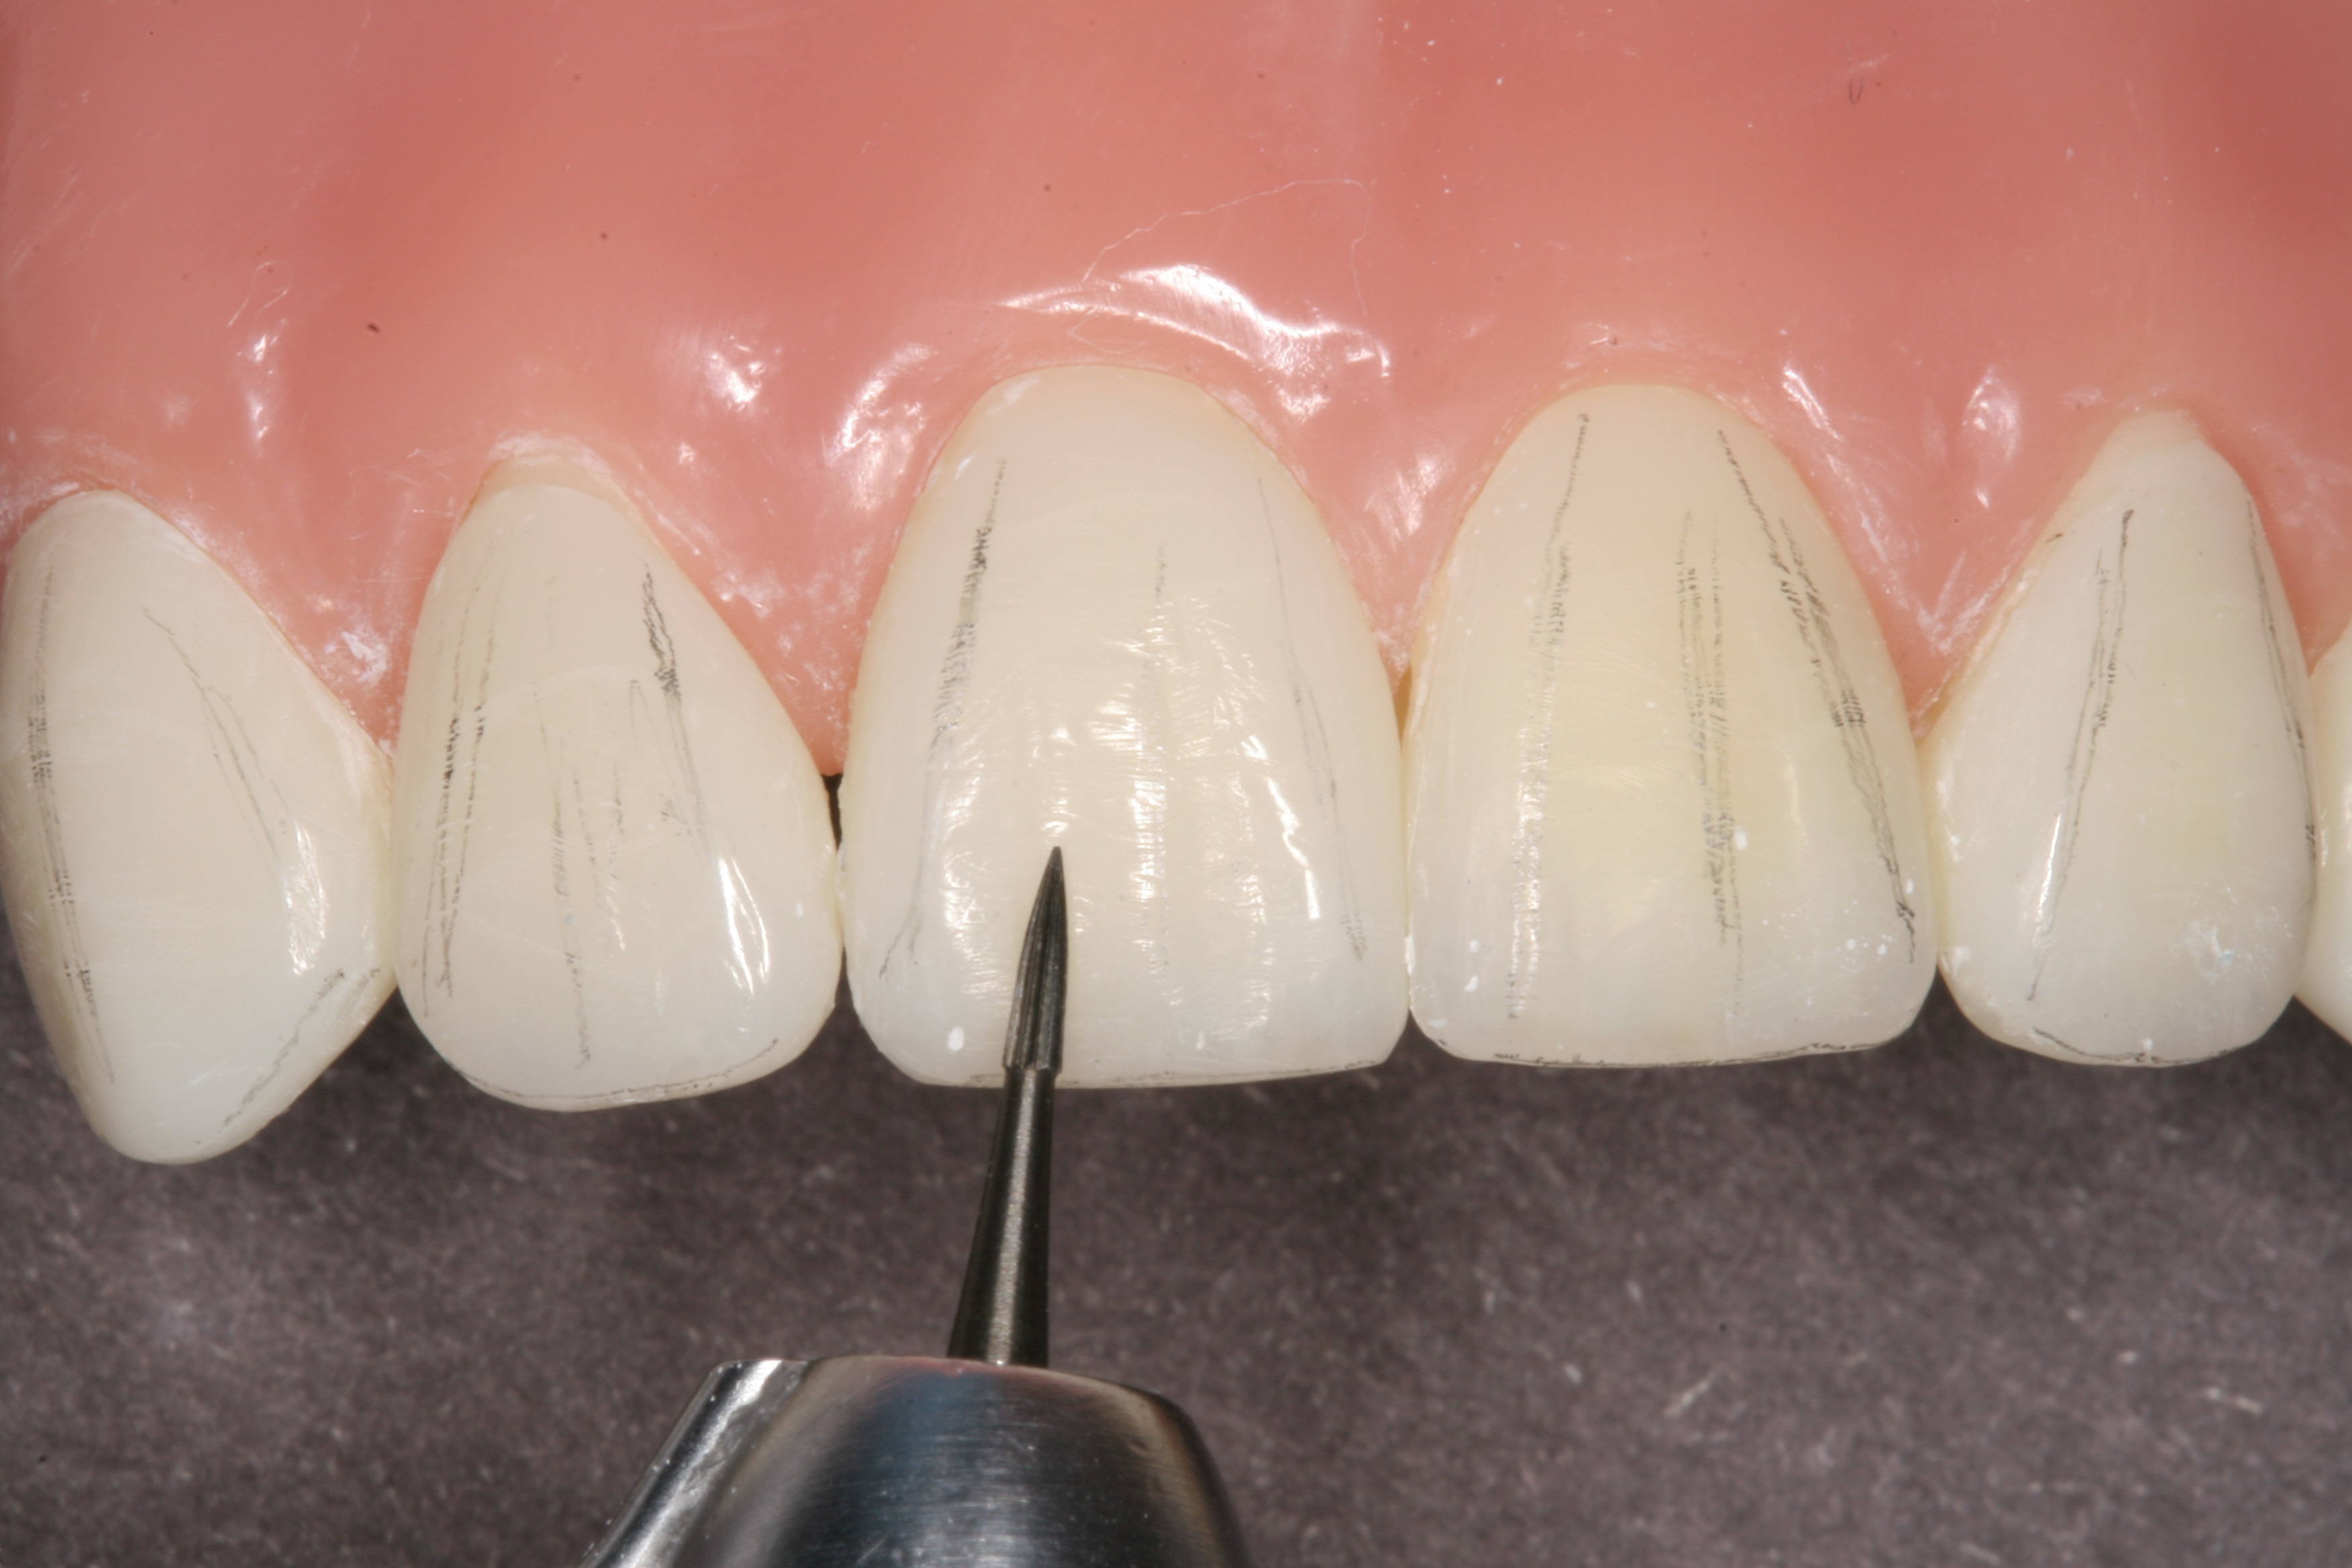
The first step in finishing and polishing an anterior composite is to establish the facial-incisal line angle.

The incisal view is a very important view to visualize the facial contours.
Create the primary anatomy by establishing the line angles & facial contour with sandpaper discs.

The large disc makes it easy to create a nice even incisal edge.
The facial of the central incisors has developmental depression areas, not sharp angles. Care should be taken to first create a flat facial surface. Mark the line angles with a pencil and then create subtle depression areas between the lines.
A flame tipped carbide was used to create the developmental depression areas.
The central incisors should be mirror images of each other in every respect!
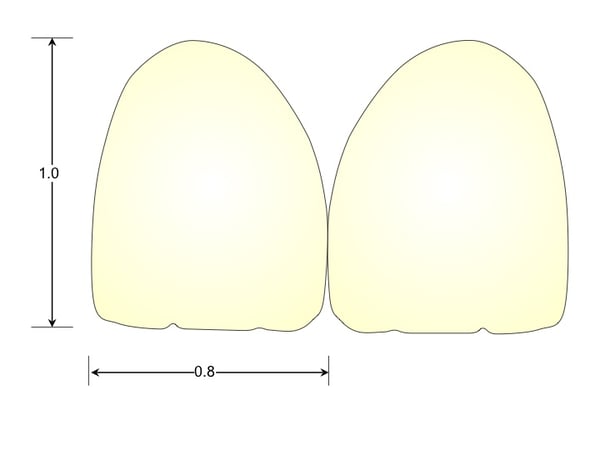
The central incisors should be mirror images of each other.
Make the teeth the same width; same length, the line angles symmetrical, and the light should reflect the same way on both centrals.
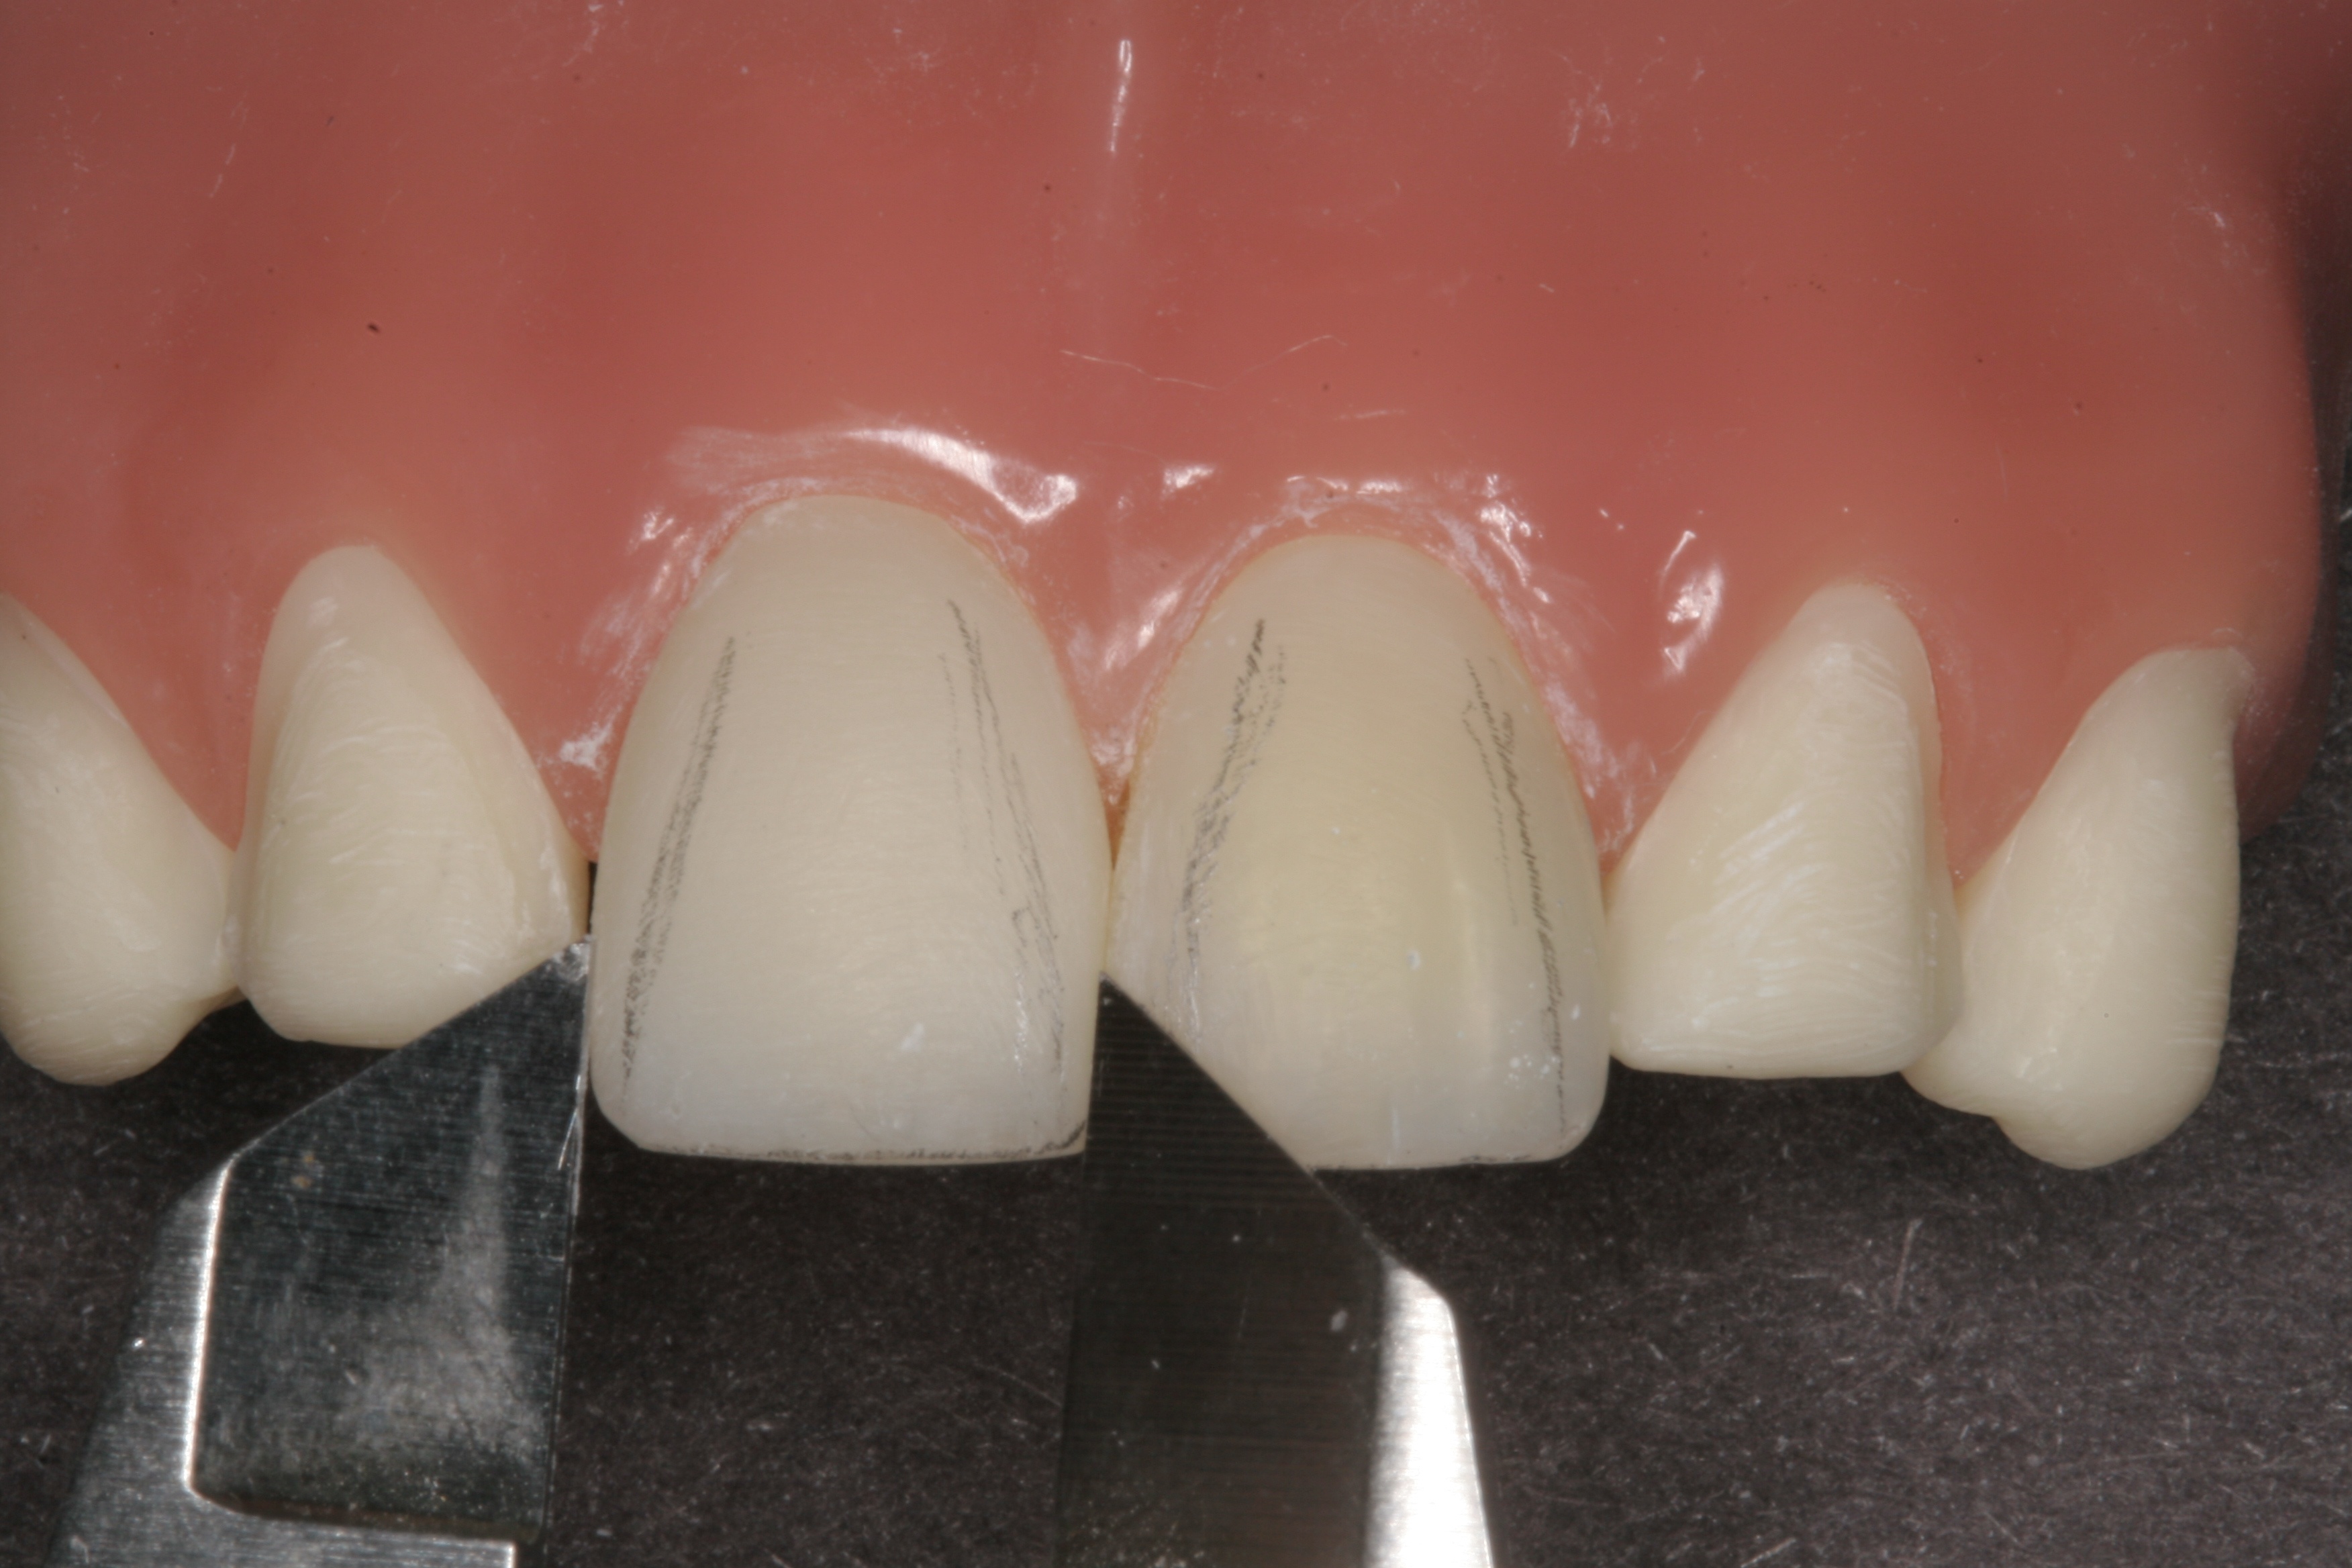
A digital caliper is very helpful to check that the central incisors have the same width.
To get the highest surface gloss, use Flexi-buff and Enamelize at the end of the polishing process.
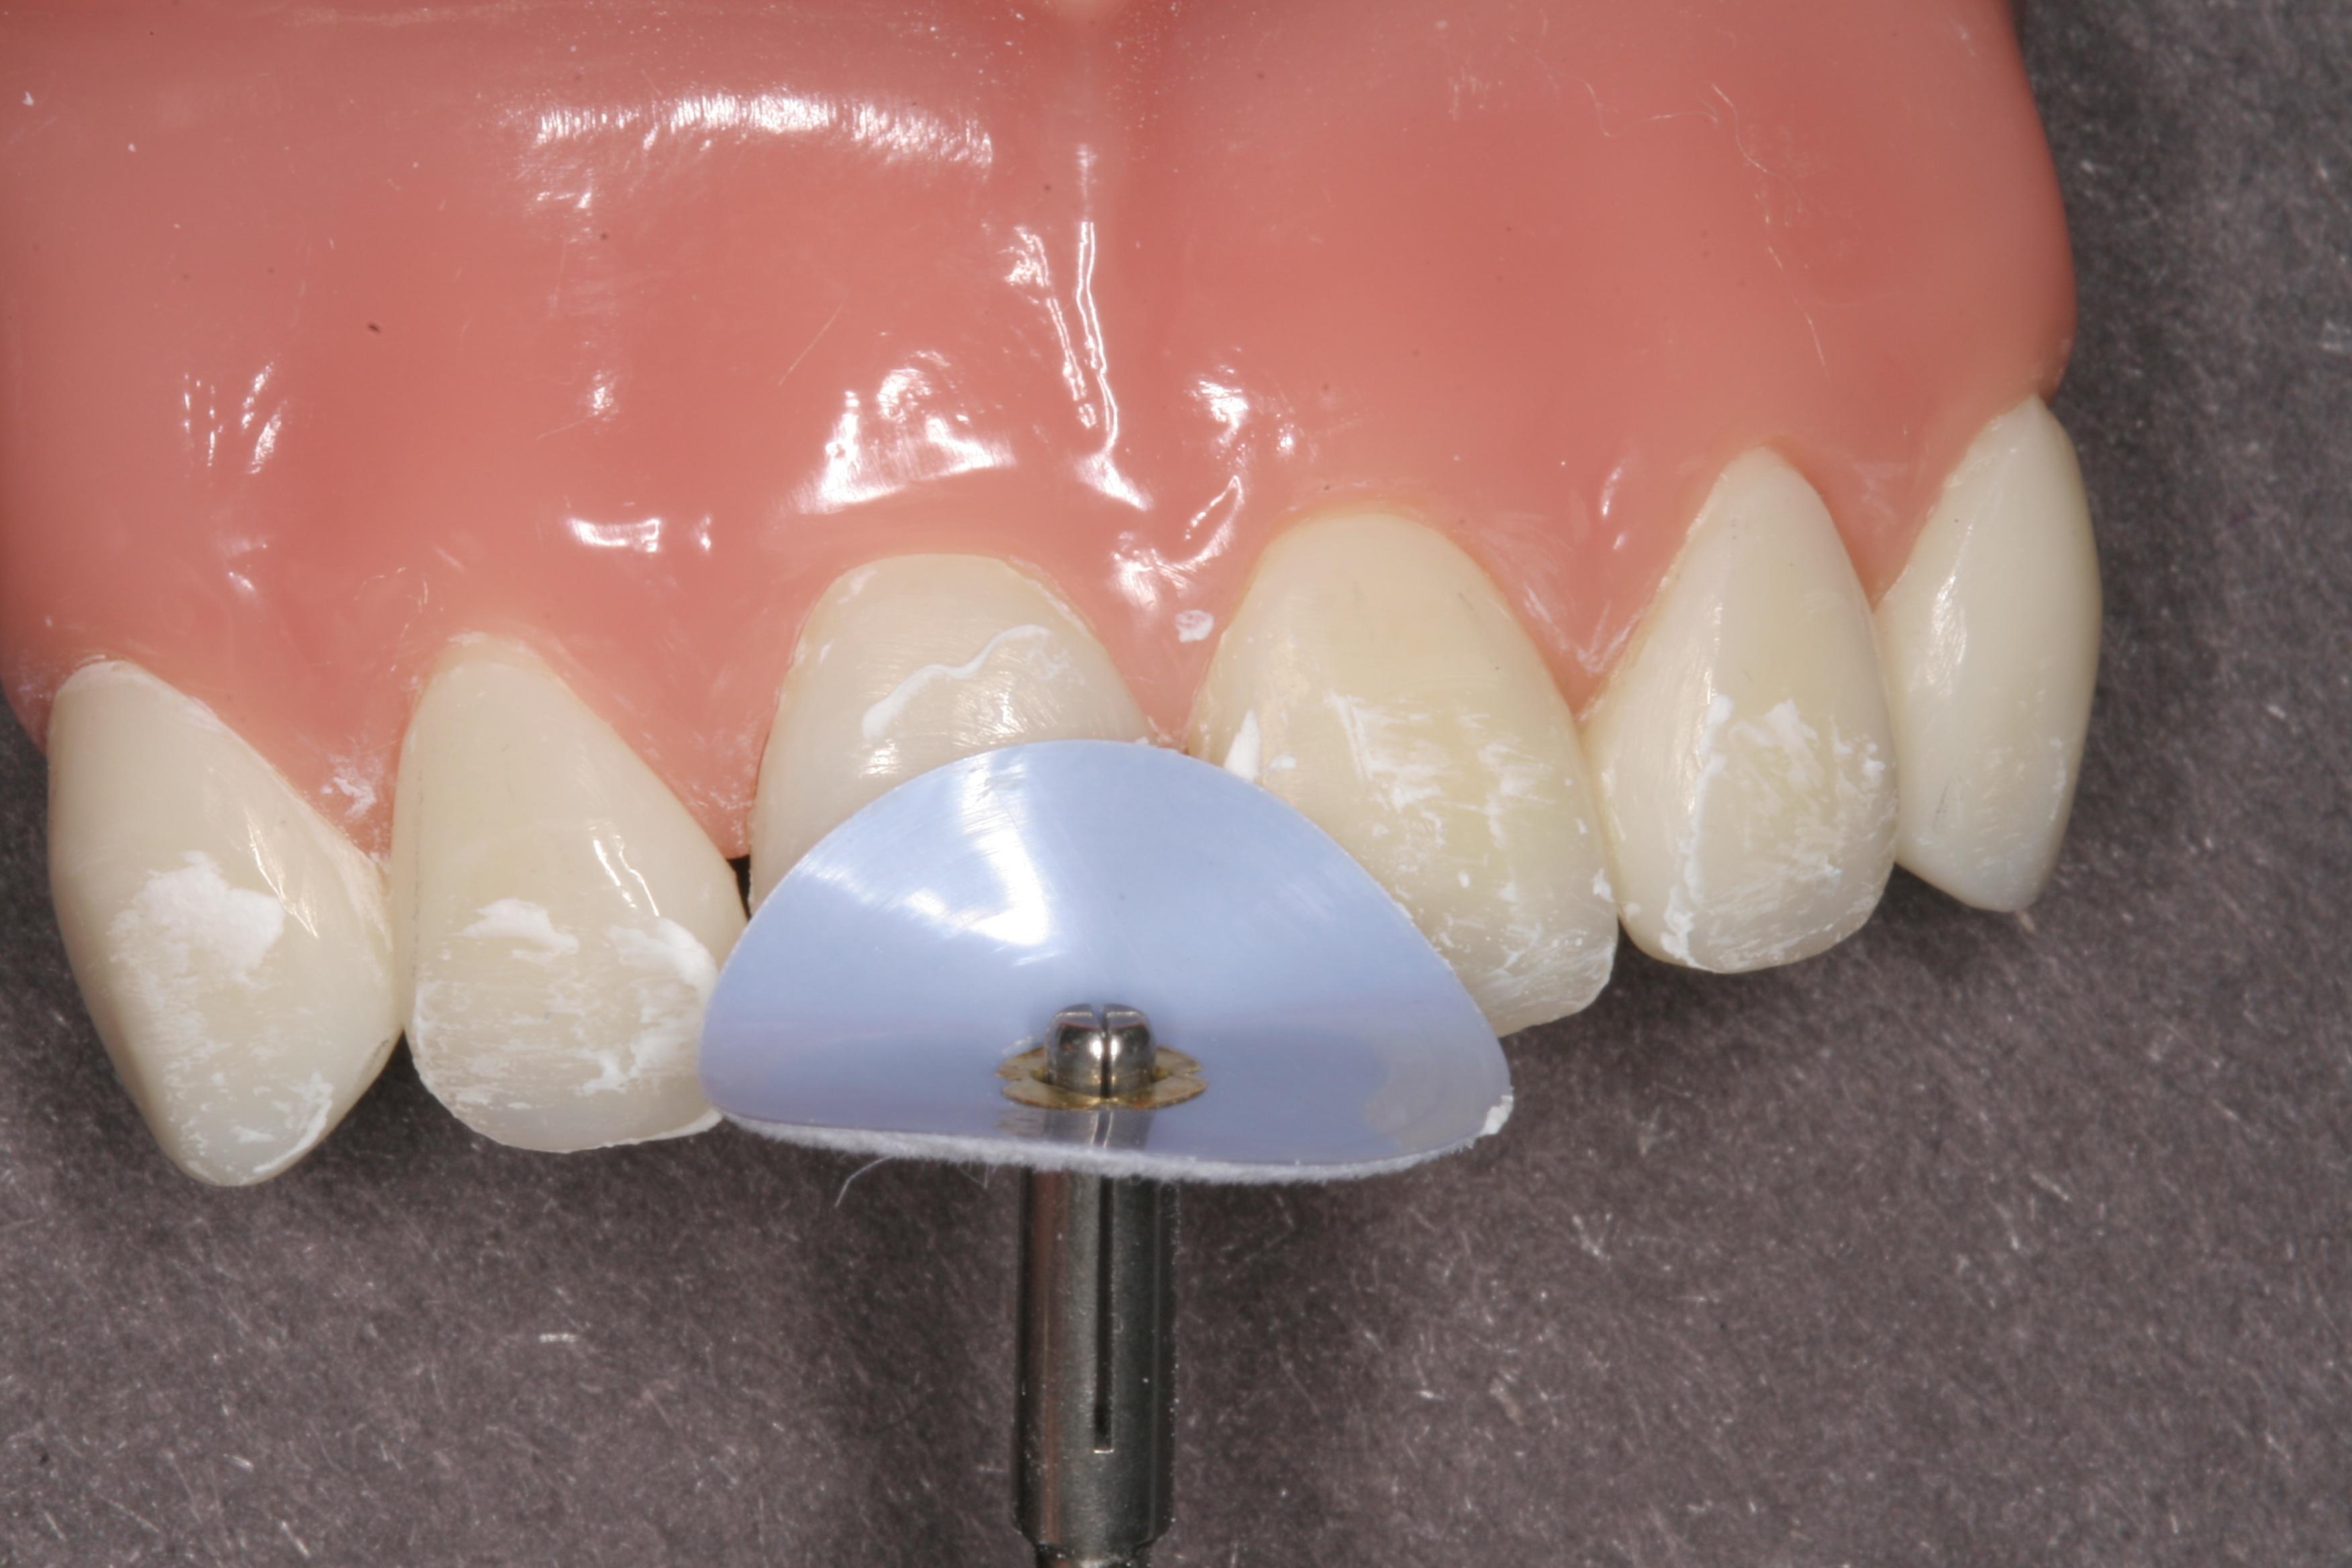
Flexibuff & Enamelize can help you obtain the best surface gloss.
Preparation is everything! Have everything you might possibly need laid out in front of you before the patient is seated. Don’t go chasing around the office looking for special instruments or tints & opaquers. It is essential to have excellent magnification and illumination. The more you can see and the better you can see, will yield better results.
Now don’t tell Dr. Fahl I gave all his secrets away. These are just tips. Take the time to follow up and read the articles given below and get more detail on each tip. Taking hands-on courses is the best way to learn these techniques. There are some nice demonstrations on YouTube about layering composites, finishing & polishing, tints & opaquers, and shade selection. The Estelite Omega kit has a wonderful DVD from Dr. Fahl that shows how to do a Class IV composite, Diastema Closure, and a Direct Veneer. Good luck on your quest to create a life-like and polychromatic restoration that invisibly blends into the tooth and makes you feel like an artist
References:
- Fahl N. Mastering composite artistry to create anterior masterpieces, part 1. J Cosmetic Dent. 2010;26(3):56-68.
- Fahl N. Mastering composite artistry to create anterior masterpieces, part 2. J Cosmetic Dent. 2010;26(4):42-55.
- Peyton, JH, Treatment of a Class IV Anterior Fracture: Conservative Direct Composite Restorations. Dentistry Today. November 2017, Volume 36, No. 11, p 110-113.
- Peyton, JH, Predictable Success in Restoring a Fractured Tooth for a Young Patient. J Cosmetic Dent. 2018;34(1):40-47.
- Peyton, JH, A Predictable Way to Close the Gap: Diastema Closure Made Simple. dentaltown.com November 2017, 2-7.